BARNEYS REWARDS
 BARNEYS BENEFITS
 CREATE A TRADE ACCOUNT



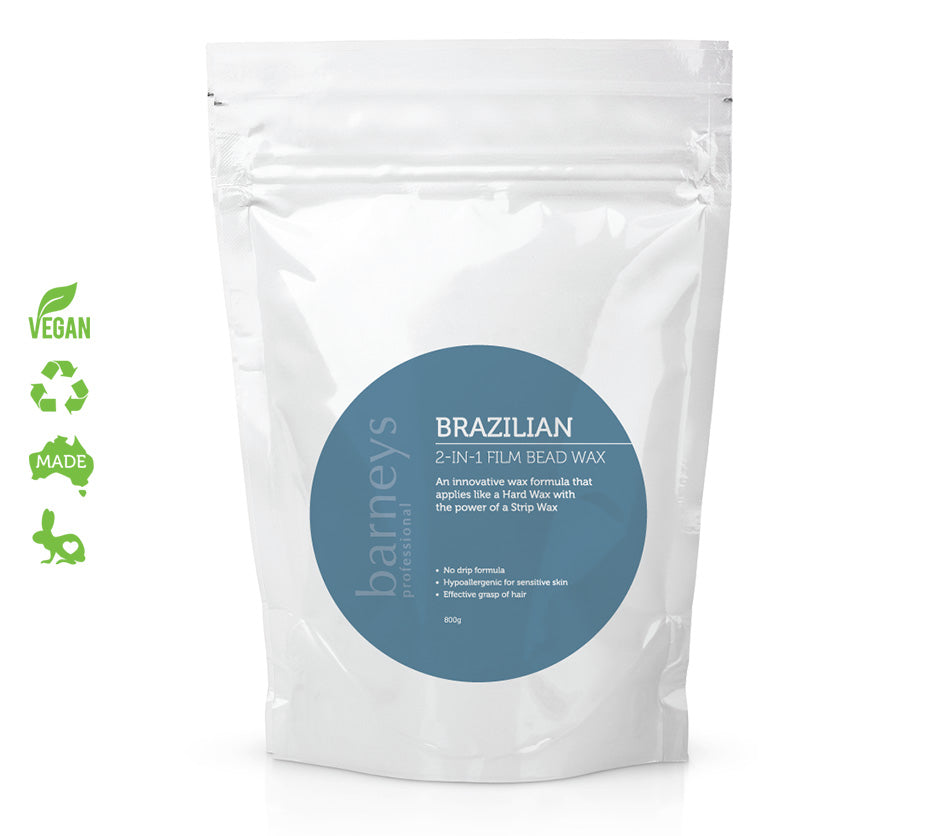


Gelish Soft Gel Tips Refill Pack - Medium Round - Size 0

Gelish Soft Gel Tips Refill Pack - Medium Round - Size 0
- Low stock - 1 item left
Instant Style, Length, Strength on Demand.
You’ve never created nails with anything faster than this! Gelish Gel Tips deliver gorgeous long-lasting nails in record time less than 20 mins for a full set.
*When used in conjunction with 18G LED Light.
You get more creative control, choose from 4 ready to wear styles and superior fit.
Detection-defying features, including the thinnest cuticle landing area for a seamless polished-on-look and snag free wear.
•Effortless Fit and Flawless Look
•Break resistant strength from arch to free edge with Apres tip technology
•Designed for a perfect fit in sizes (0 to 8)
•Pre-shaped – little to no filing needed
•Flexi-fit soft gel for perfect seal
•Snag free, thin contact area
NOT AVAILABLE FOR SHIPMENT TO NEW ZEALAND
Directions to use
Prep Nails:
- Sanitise – Wash hands with soap or alcohol spray. Dry.
- Push cuticles – Push back skin and remove dead tissue from the nail plate.
- Shape – File natural free edge short.
- Buff – Rough up the nail surface until completely matte removing the shine
- Cleanse – Wipe nails with alcohol to remove dust and oils.
- pH Bond – Apply to natural nails and let air dry.
Prep Tips:
- Size – Choose soft gel tip that fits wall-to-wall (file sides if needed).
- Primer – Apply tip primer to underside of tip AND to natural nail.
Apply Tips:
- Adhesive – Put a small bead of gel glue down the center of the tip.
- Roll-on – Place tip at cuticle, push slightly toward cuticle, then roll down onto nail (no air bubbles).
- Flash cure – Cure for 5 seconds to freeze in place. Repeat on all five fingers.
- Full cure – Cure each nail for 60 seconds (LED) or 120 sec (UV).
Shape & Finish:
- Refine – File the seam where tip meets natural nail until smooth.
- Buff – Lightly scuff entire tip surface so polish sticks.
- Cleanse – Wipe off dust with alcohol.
- Polish – Apply base coat, 2 thin color coats, and top coat – cure between each layer (30-60 sec each).
- Oil – Massage cuticle oil into skin and nails.
Safe Removal (Step-by-Step)
- Sanitise – Wash hands.
- Break seal – File/buff off the shiny top coat completely with a coarse file
- Soak – Put acetone-soaked cotton on nail, wrap with foil or clip. Wait 15 minutes.
- Lift – Gently push off softened gel with wooden stick. If it doesn't slide off easily, soak 5 more minutes – do NOT force it.
- Buff – Lightly smooth the natural nail (don't over-file).
- Oil – Apply cuticle oil and hand cream generously to rehydrate.
FAQ
How do you prep nails for soft gel tips?
A: Prepping begins with sanitizing the client’s hands and nails, then pushing back cuticles and removing excess tissue. The natural nails are shaped with a 240/240 thin wooden file, the shine is gently removed using a 100/180 grit buffer, and the surface is cleansed with Nail Surface Cleanse on a lint‑free wipe. Finally, a thin coat of pH Bond nail prep is applied before sizing and priming the tips.
What’s the correct way to apply soft gel tips?
A: The process starts by applying tip primer to both the underside of all ten sized soft gel tips and the natural nails. A liberal amount of adhesive is placed on the tip’s contact area, then the tip is rolled onto the nail from the cuticle toward the free edge with constant pressure to avoid bubbles. After a 5‑second flash cure under a touch LED light, all five fingers are cured for 60 seconds in an 18G LED light before refining edges, buffing, cleansing, and finishing with lacquer or gel polish and top coat.
How is Gelish soft gel removed safely?
A: Removal begins with sanitizing, taking off any lacquer, and reducing nail length. If soak‑off gel was used, the top seal is broken by lightly roughing the surface with a 100/180 grit buffer or reducing bulk with a Go File. Cotton pads or foil wraps saturated with artificial nail remover are applied for 15 minutes, after which softened gel is gently pushed away; soaking can be repeated if needed. The process ends with light buffing and massaging cuticle oil into the surrounding skin.
Product images are for illustrative purposes only and are represented as accurately as possible. However, packaging, design, ingredients, and materials are subject to change without notice.
While we strive to keep product descriptions and images up to date, there may be occasional delays in updates.